


- 29 Feb, 2024
- 0 Comments
- 2 Mins Read

Face Recognition using OpenCV
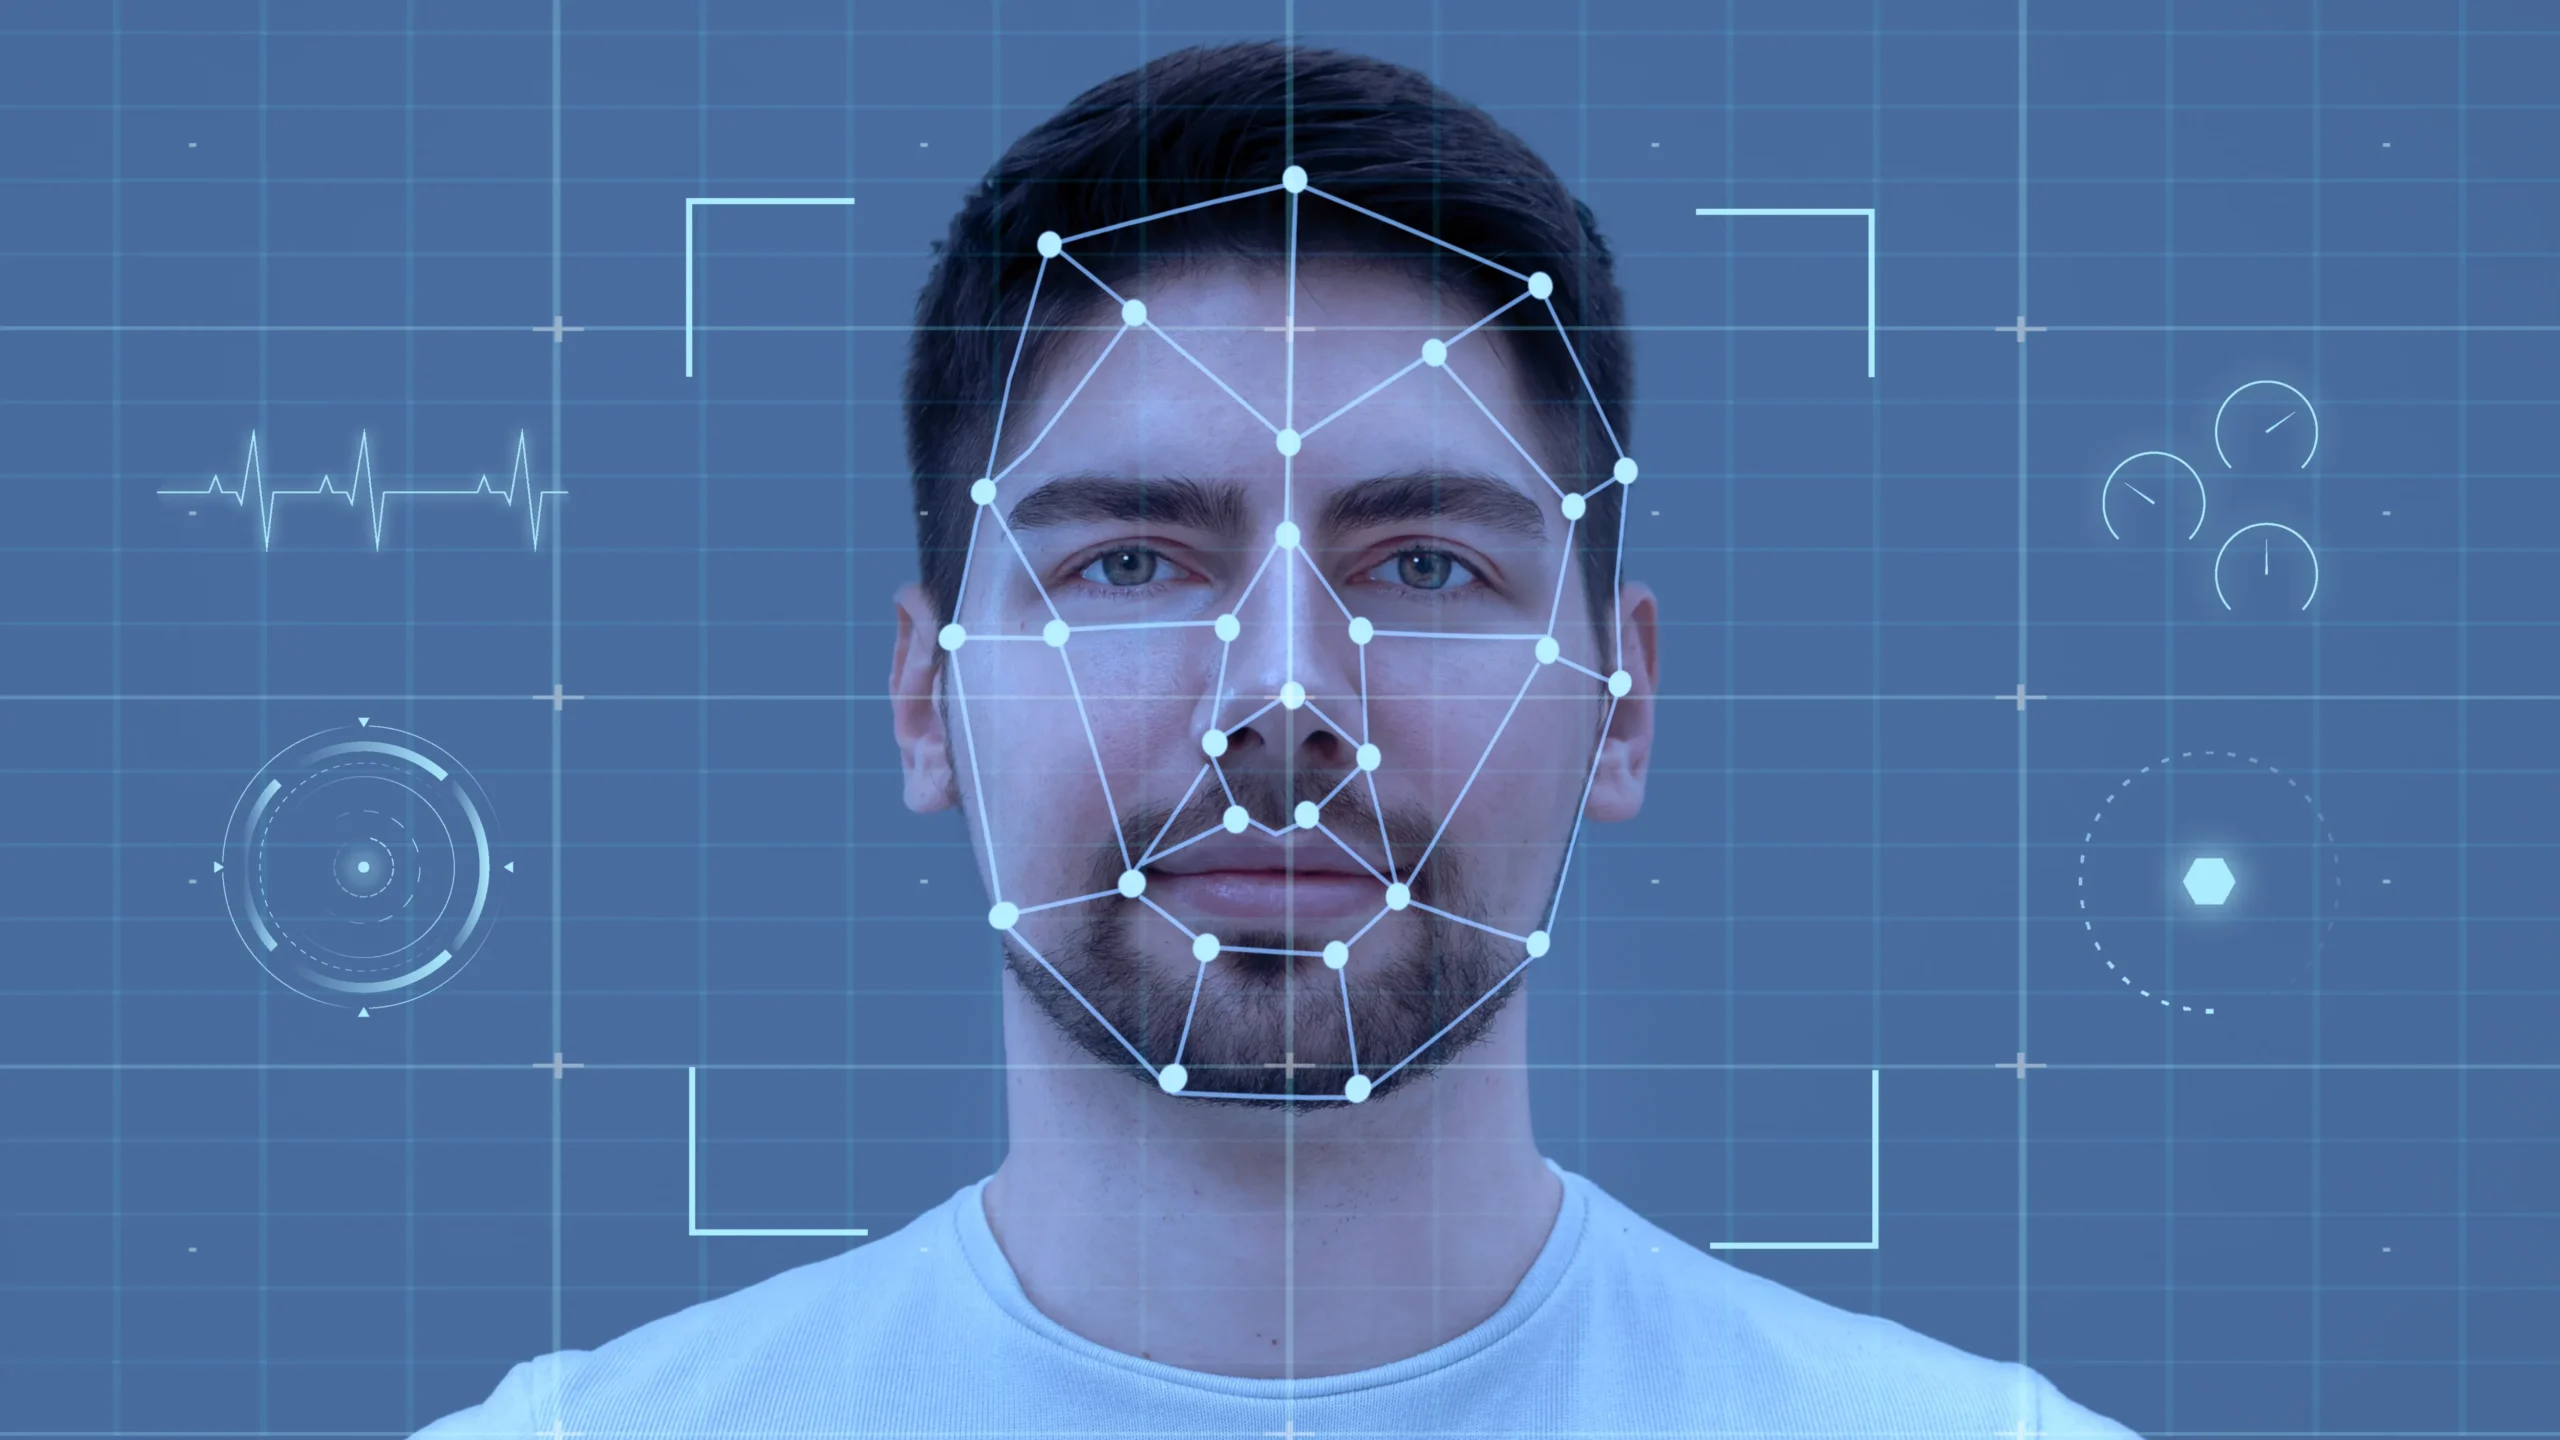
Face Recognition has become increasingly prevalent in today’s digital era. It is used in various fields like security systems for identifying individuals in public spaces, biometric authentication systems where individuals can be identified based on their facial features, etc. OpenCV and face_recognition are two powerful tools for implementing face recognition in Python. In this blog, we’ll learn how to detect and recognize faces in images using OpenCV.
What is OpenCV?
It is an open-source computer vision library. It offers a wide range of functions for reading, displaying, and processing images and videos.
What is face recognition?
It is a Python library built on dlib and OpenCV. It simplifies the process of face detection even under challenging conditions such as varying poses, lighting, or occlusions.
How to install OpenCV?
We can install OpenCV and face_recognition using pip. We can run the following codes in the terminal.

Here’s a simple example demonstrating how to detect faces and recognize them using OpenCV and face_recognition.

Steps:
- Importing both the libraries- OpenCV and face_recognition
- “image_path”: This variable stores the path to the image file that we want to analyze.
- Loading the image file specified by “image_path” using the load_image_file function from the face_recognition library. Then the image is stored in a variable named “image”.
- Detecting the locations of faces within the loaded image using the face_locations function from the face_recognition library. It returns a list of tuples, where each tuple represents the coordinates (top, right, bottom, left) of a detected face in the image.
- A loop is iterated over each detected face location. Within the loop, we draw a rectangle around the detected face on the image loaded using OpenCV. The rectangle function takes the following arguments:
• “image_cv”: This is the image on which the rectangle is drawn.
• (left, top): This is the coordinates of the top-left vertex of the rectangle.
• (right, bottom): This is the coordinates of the bottom-right corner of the rectangle.
• (0, 0, 255): The color of the rectangle in BGR format (here, it’s red).
• 2: This is the thickness of the rectangle’s border. - Displaying the image with the detected faces and rectangles using OpenCV’s imshow function. The first argument is the window name (‘Baby_face’) and the second argument is the image with rectangles drawn.
- Closing all windows once a key is pressed.
Here’s the result of the above code. We have detected and recognized the faces in the image named ‘baby.jpg’ and we displayed it as ‘Baby_face’ using the cv2.imshow function.
By combining the capabilities of OpenCV and face_recoginition libraries, we’ve created a simple face recognition system. Similarly, we can create efficient facial recognition systems for a wide range of applications. So why wait? Dive into the world of OpenCV and discover the endless possibilities.